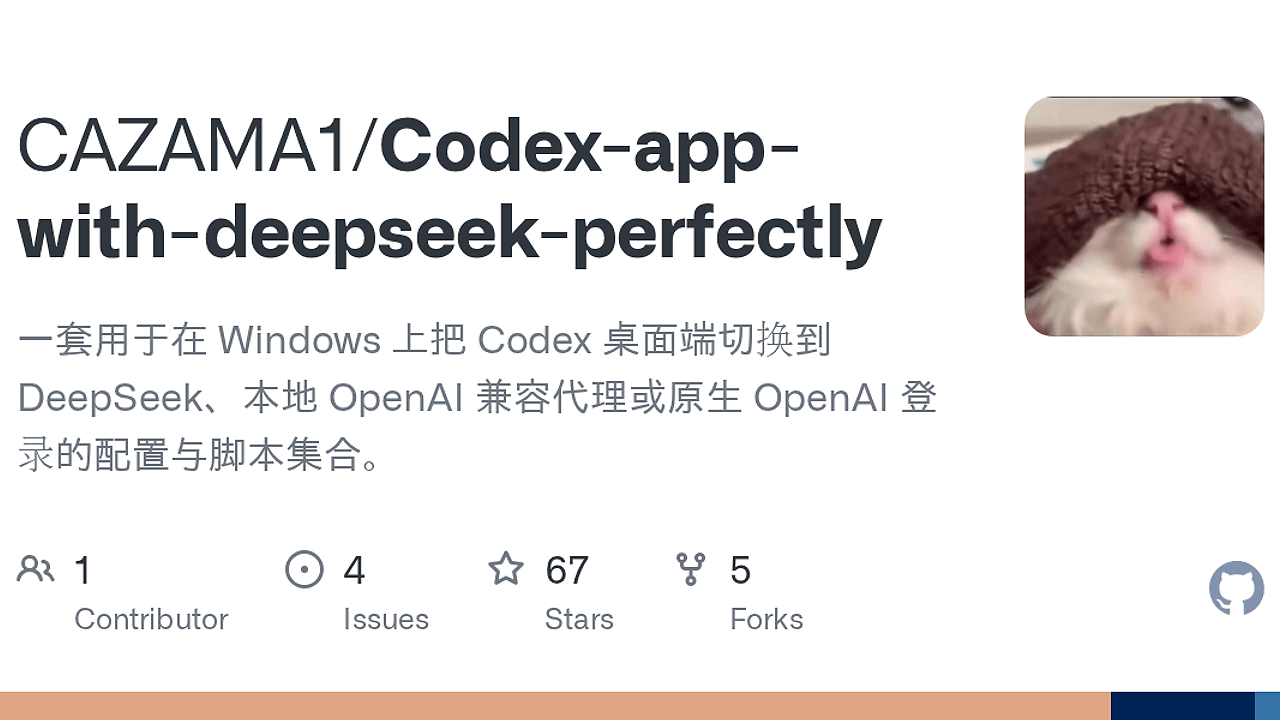
What Is Codex DeepSeek Config?
Codex DeepSeek Config is a Windows-focused DevTools Automation kit built by CAZAMA1 that reroutes Codex Desktop from OpenAI Responses API traffic to DeepSeek or other OpenAI-compatible endpoints for Windows developers, using a two-hop local proxy chain and four built-in model aliases. Codex DeepSeek Config is one of the best DevTools Automation tools for Windows developers and Codex Desktop users who need provider switching without touching Codex internals.
The repository combines config.toml, PowerShell launch scripts, a Python model-name mapper, and a Rust relay so Codex can keep talking to a localhost endpoint while the backend speaks a different API shape. The practical outcome is less manual config drift when you need DeepSeek, a local proxy, or an account-based OpenAI login path.
Quick Overview
| Attribute | Details |
|---|---|
| Type | DevTools Automation |
| Best For | Windows developers and Codex Desktop users who need DeepSeek, OpenAI-compatible proxies, or provider switching |
| Language/Stack | PowerShell, Python 3, Rust/Cargo, TOML |
| License | Open-Source; codex-relay/ is MIT, root scripts are project-specific |
| GitHub Stars | N/A as of Feb 2026 |
| Pricing | Open-Source |
| Last Release | N/A |
Who Should Use Codex DeepSeek Config?
Codex DeepSeek Config is for people who already run Codex Desktop and want to control where requests go without changing the app’s internals.
- Windows-only power users who want a local relay layer for DeepSeek instead of hand-editing provider URLs
- Indie hackers who need a reproducible setup for switching between OpenAI, DeepSeek, and compatible intermediaries
- Platform engineers validating how an AI coding client behaves behind a local adapter, proxy, or relay
- Teams with plugin workflows that need a fallback path when the default provider setup breaks account-state assumptions
Not ideal for:
- Developers on macOS or Linux, because the scripts are written for Windows and PowerShell
- People who only want a direct OpenAI API key setup and do not need provider translation
- Users who are not comfortable running local services, editing TOML, or setting environment variables
Key Features of Codex DeepSeek Config
- Two-layer API translation —
model-proxy.pymaps Codex model names, andcodex-relayconverts Responses API calls into Chat Completions API calls. That split is the core design choice, because DeepSeek and similar services usually expose Chat Completions, not the exact Responses shape that Codex expects. - Provider switching script —
switch-provider.ps1flips Codex between OpenAI account login, DeepSeek local relay mode, and a ChatGPT intermediary mode. That makes the setup useful when you need to validate behavior across multiple upstream providers without hand-editing the desktop app each time. - Localhost-first routing — Codex points at
http://127.0.0.1:4445/v1, while the relay listens on127.0.0.1:4446. Keeping the app on localhost reduces external exposure and makes the debugging path obvious when something fails. - Explicit model alias mapping — the proxy remaps
gpt-5.4-miniandgpt-5.4todeepseek-v4-flash, andgpt-5.5andgpt-5todeepseek-v4-pro. That prevents unsupported upstream model names from leaking into DeepSeek requests. - Environment-variable based secrets — the repo reads keys from
DEEPSEEK_API_KEYorOPENAI_API_KEYinstead of hard-coding credentials intoconfig.toml. That reduces the chance of accidental credential commits and keeps the config portable across machines. - Rust relay with Python wrapper — the relay core lives in Rust for predictability, while Python handles the lightweight model-name proxy. That mix is practical for a Windows utility: the heavy lifting stays in a compiled binary, and the name-mapping layer stays easy to inspect.
- Plugin-state workaround — the README documents a real-world path where you first initialize Codex with OpenAI login, then switch to a ChatGPT intermediary so plugin functionality can continue working. That kind of operational detail matters more than theoretical compatibility claims.
Codex DeepSeek Config vs Alternatives
| Tool | Best For | Key Differentiator | Pricing |
|---|---|---|---|
| Codex DeepSeek Config | Windows Codex users who need provider switching and API translation | Two-hop local relay plus model alias mapping | Open-Source |
| Native OpenAI login | Users who want the shortest path to Codex with OpenAI only | No proxy, no translation layer, no local services | Paid |
| LiteLLM | Teams building a broader multi-provider LLM gateway | General-purpose proxying across many model backends | Open-Source |
| OpenSwarm | Developers coordinating multi-agent workflows | Agent orchestration, not API shape conversion | N/A |
Pick native OpenAI login if you only care about official OpenAI access and do not need DeepSeek or an intermediary endpoint. Pick LiteLLM if you want a broader gateway pattern across many apps, not just Codex Desktop, because Codex DeepSeek Config is intentionally narrow and Windows-specific.
If your problem is orchestration rather than transport, OpenSwarm is the better fit. If you need to inspect request flow while debugging the relay path, pair this setup with OpenTrace so you can see exactly what reaches each localhost hop. If your bottleneck is agent-state handling rather than provider routing, Claude Context Mode lives in a neighboring problem space.
How Codex DeepSeek Config Works
Codex DeepSeek Config works by inserting a local compatibility layer between Codex Desktop and the real model provider. Codex speaks to a localhost base URL, model-proxy.py rewrites model identifiers, and codex-relay performs the protocol translation from Responses API to Chat Completions API before forwarding the call to DeepSeek’s upstream endpoint.
The architecture is simple because it solves one incompatibility at a time. First, the proxy normalizes model names so Codex does not send unsupported identifiers. Second, the relay handles payload transformation so the upstream service can accept the request shape it actually understands. That separation keeps the Python layer tiny and lets the Rust relay own the protocol boundary.
[Environment]::SetEnvironmentVariable("DEEPSEEK_API_KEY", "your-key-here", "User")
Set-ExecutionPolicy -Scope CurrentUser -ExecutionPolicy RemoteSigned
.\start.ps1
Running the above sets the API key, allows local script execution, and starts both background services. After that, Codex Desktop should talk to 127.0.0.1:4445, while the relay chain forwards traffic to DeepSeek at https://api.deepseek.com/v1. If you switch providers later, restart Codex so it reloads the updated config.toml and session state.
Pros and Cons of Codex DeepSeek Config
Pros:
- Supports provider swapping without modifying Codex source — you can move between OpenAI, DeepSeek, and a ChatGPT intermediary by running a script instead of patching the desktop app.
- Clear local debugging surface — the two port split (
4445and4446) makes it easy to see which layer is failing. - Model alias normalization — the proxy prevents unsupported Codex model names from breaking downstream requests.
- Secrets stay out of the repo — environment variables keep keys out of TOML files and reduce accidental leakage.
- Useful for plugin edge cases — the documented login-then-switch flow gives you a way to preserve plugin behavior in some intermediary setups.
- Minimal moving parts — the design uses plain PowerShell, Python, Rust, and TOML instead of a large framework.
Cons:
- Windows-only workflow — the scripts and execution model are centered on PowerShell, so cross-platform teams will hit friction immediately.
- Two local services to manage —
model-proxy.pyandcodex-relayboth need to be running, which adds failure points compared with direct API access. - Compatibility is not universal — the repository focuses on Codex Desktop and DeepSeek-style compatibility, not every OpenAI-shaped client.
- Plugin behavior can depend on state — the README calls out a login-order workaround, which means some behavior is tied to Codex’s internal session initialization.
- Port collisions are your problem — if
4445or4446is occupied, you must update the scripts and config together.
Getting Started with Codex DeepSeek Config
The quickest setup is to install the relay, set your API key, copy the config template, and start the local services.
pip install codex-relay
[Environment]::SetEnvironmentVariable("DEEPSEEK_API_KEY", "your-deepseek-api-key", "User")
Copy-Item .\config.toml "$env:USERPROFILE\.codex\config.toml"
.\start.ps1
After those commands, Codex DeepSeek Config should expose a local OpenAI-compatible endpoint on 127.0.0.1:4445. The first time you run it, verify that the relay starts cleanly and that config.toml points model_provider at deepseek-relay; if the ports are wrong, the desktop client will fail before it reaches DeepSeek.
If you want to build the Rust relay from source instead of using the packaged binary, the repo also supports cargo build --release inside codex-relay/. That path is useful when you are auditing the relay code, testing a local patch, or validating the behavior on a locked-down machine.
Verdict
Codex DeepSeek Config is the strongest option for Windows-based Codex provider switching when you need DeepSeek or OpenAI-compatible routing without editing Codex internals. Its biggest strength is the clean split between model mapping and API translation, and its main caveat is the extra local-process overhead. Use it if you want a reproducible Windows proxy stack; skip it if you only need direct OpenAI login.